If you are using Gmail, you can import your domain email account into your Gmail account using Gmail’s Mail Fetcher feature.
Gmail’s Mail Fetcher feature imports all your old domain emails (that you haven’t deleted from the mail server) into your Gmail account and then continues to bring in new emails sent to your domain email account.
In this article, we will show you how to import your domain email account into your Gmail account.
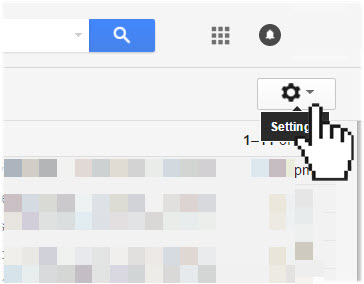
- Open your Gmail account and click the Gear icon at the top right corner
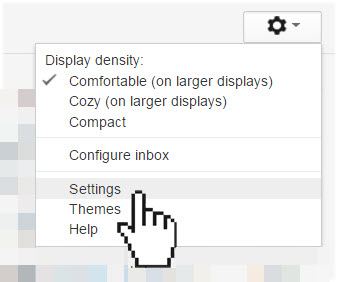
- Click on Settings
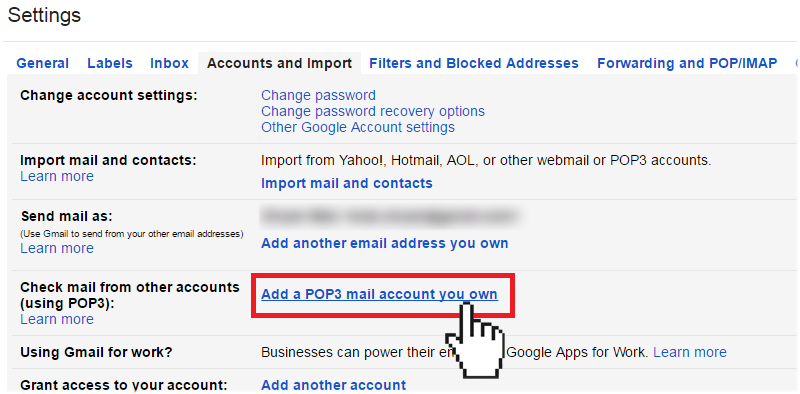
- Click on the Accounts and Import tab.

- Under Check mail from other accounts (using POP3) section, click Add a POP3 mail account you own.
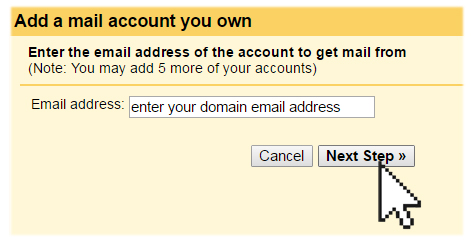
- Enter your domain email address (ex: username@sampledomain.net), then click Next Step.
- Enter your account username and password that you chose during the creation of the email account.
Tip: Your username is your full email address. - Enter your account’s POP3 mail server information. This is the Incoming Server information that can be found in the New Hosting Account Information email that you received when you signed up with iPlusHost. Make sure you enter the correct mail server name and the corresponding port number.
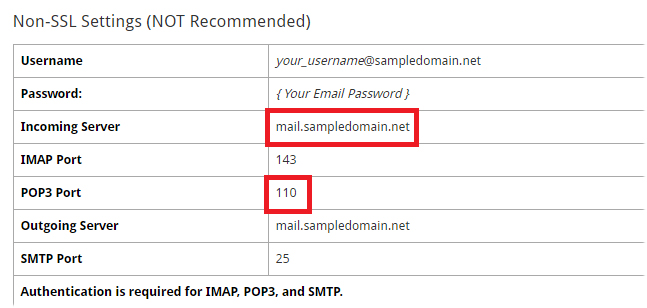
Tip: If you are using the Secure SSL/TLS settings, make sure you select Port 995 from the Port drop-down menu. If you are using the Non-SSL settings, select Port 110 from the Port drop-down menu.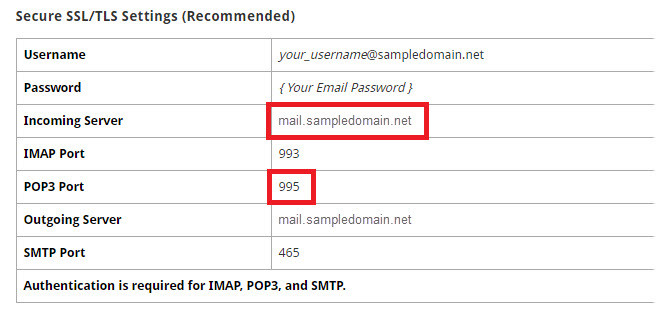
- Select the desired options:
- Leave a copy of retrieved messages on the server – check the box if you are also accessing your emails on another email client or device (ie. phone or tablet), otherwise, the emails in your domain email account will be deleted and you will only be able to access them in Gmail.
- Always use a secure connection (SSL) when retrieving mail – if you are using the Secure SSL/TLS settings, then you need to check the box. If you are using the Non-SSL settings, then uncheck the box.
- Label incoming messages – check the box if you have more than one email account set up in your Gmail; this way, you can easily see which emails in your inbox come from your domain email account.
- Archive incoming messages – leave this box unchecked; otherwise, all emails from your domain email account will be auto-archived and will not show up in your Gmail’s inbox.
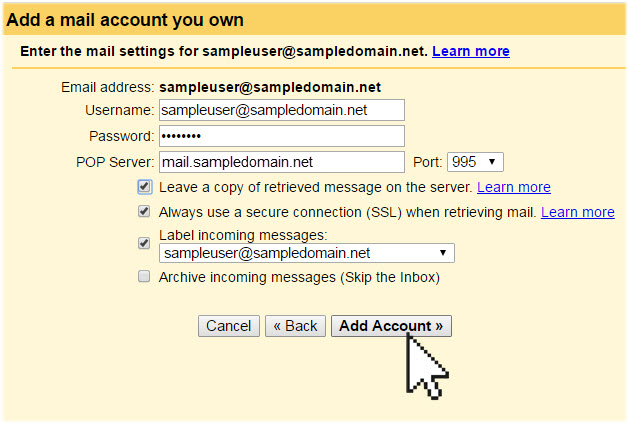
- When ready, click Add Account.
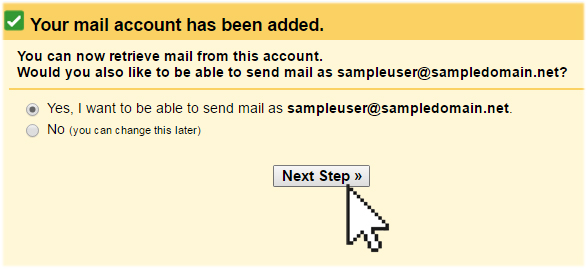
- Once your domain email account has been successfully imported, you will be asked if you want to be able to send mail as this address. This lets you compose email messages in Gmail, but have them appear to be sent from your domain email account.
- Enter your name, then click Next Step.
- Enter the Name of the account and click on Next Step
Do not check the box to treat your domain email as an alias as it will send all your emails using your Gmail email address.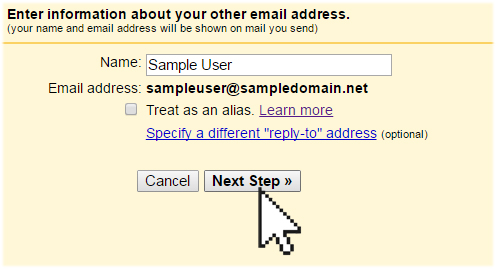
- Enter your account’s SMTP mail server information. This is the Outgoing mail server information that can be found in the New Hosting Account Information email that you received when you signed up with iPlusHost. Make sure you enter the correct mail server name and the corresponding port number.
Tip: If you are using the Secure SSL/TLS settings, make sure you select Port 465 from the Port drop-down menu. If you are using the Non-SSL settings, select Port 25 from the Port drop-down menu.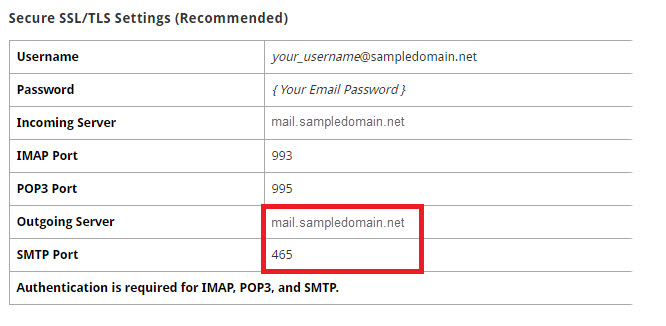

- Enter your account username and password that you chose during the creation of the email account.
Tip: Your username is your full email address. - If you are using the Secure SSL/TLS settings, check the Secured connect using the SSL option.
- When ready, click Add Account.
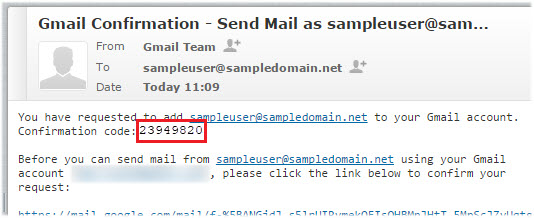
- Before your domain email account is successfully added, you will need to enter the confirmation code sent to your domain email account. So, open your domain email account and open the confirmation email sent from Google.
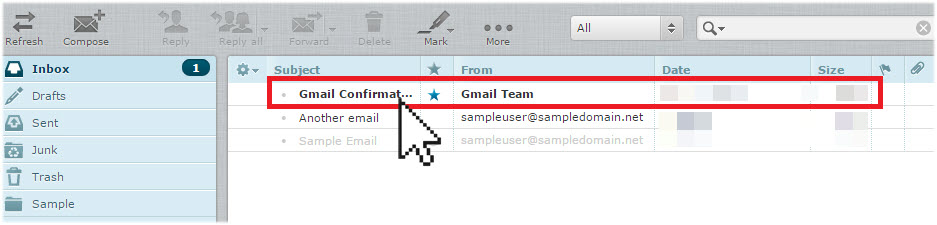
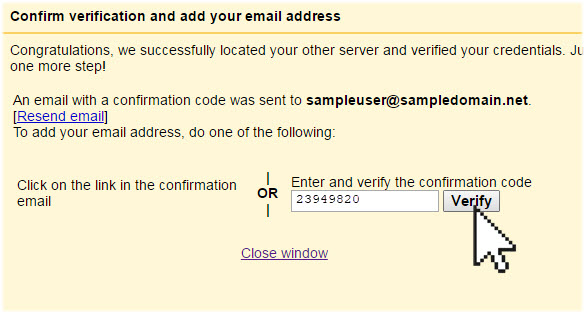
- Copy and paste the Google confirmation code into the confirmation window.
- When ready, click Verify. This will complete the domain email account import process.
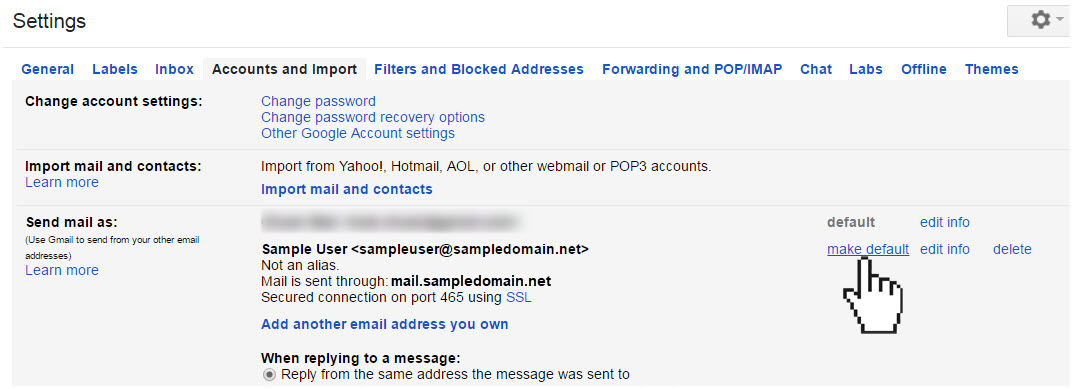
- Once you have imported your domain email account to your Gmail account, go into Settings again. Select the Accounts and Import tab and under the Send Mail As section, click on the make default link next to your domain email address. This way, each time you click on the Send or Reply buttons, your email message will be sent out from your domain email address by default, instead of your Gmail address.